To install WordPress using the SiteGround Wizard, first access your Customer Area. After you signup for your WordPress hosting package (Read My Tutorial For More Information), you will receive all the necessary information you need to login.
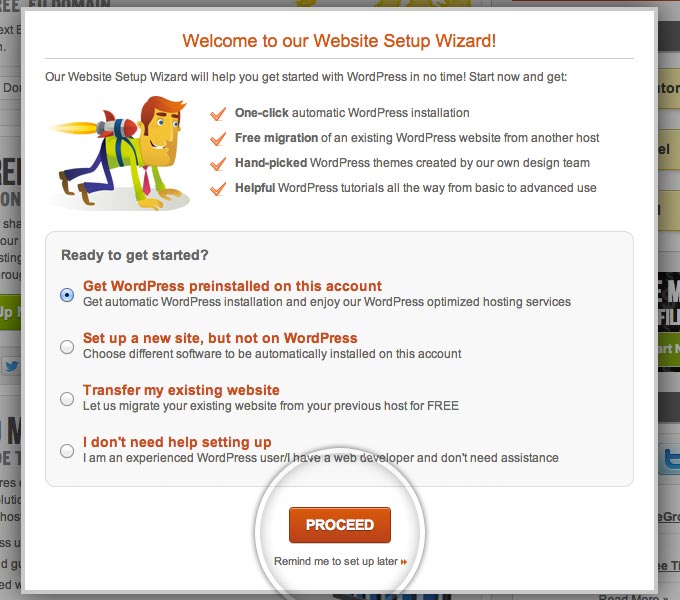
Once you login to your Customer Area for the first time, you will see a popup asking you if you want to have WordPress pre-installed on your account. Select that option and click on the Proceed button.
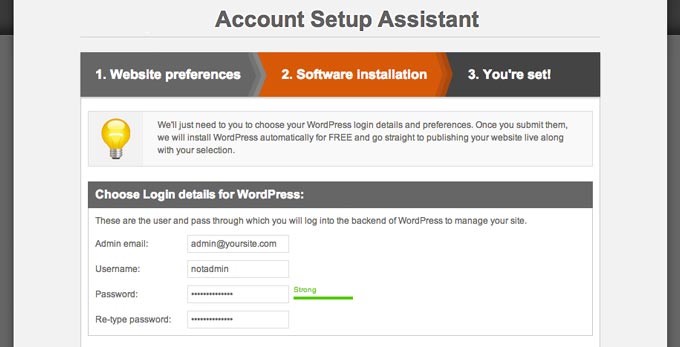
The next page consists of two parts. In the first one, enter the login information for your new WordPress application.
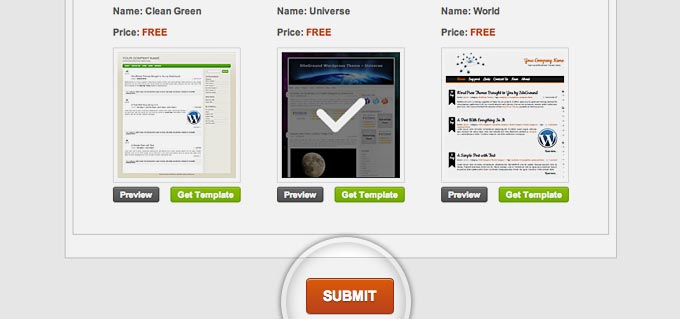
Next, pick one of the free WordPress themes available in the Wizard and click on the Submit button once again.
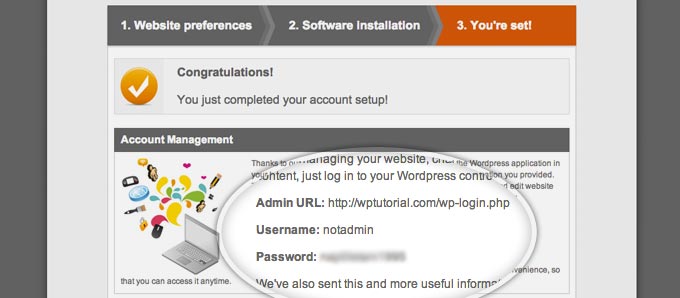
Finally, you will see a quick summary of your WordPress installation, including from where to access your admin area, your username and your password.
That’s it! You can now go to the front page of your site and check out the newly installed WordPress application. Don’t forget to celebrate your accomplishment. Maybe something fruity with a tiny umbrella?


